
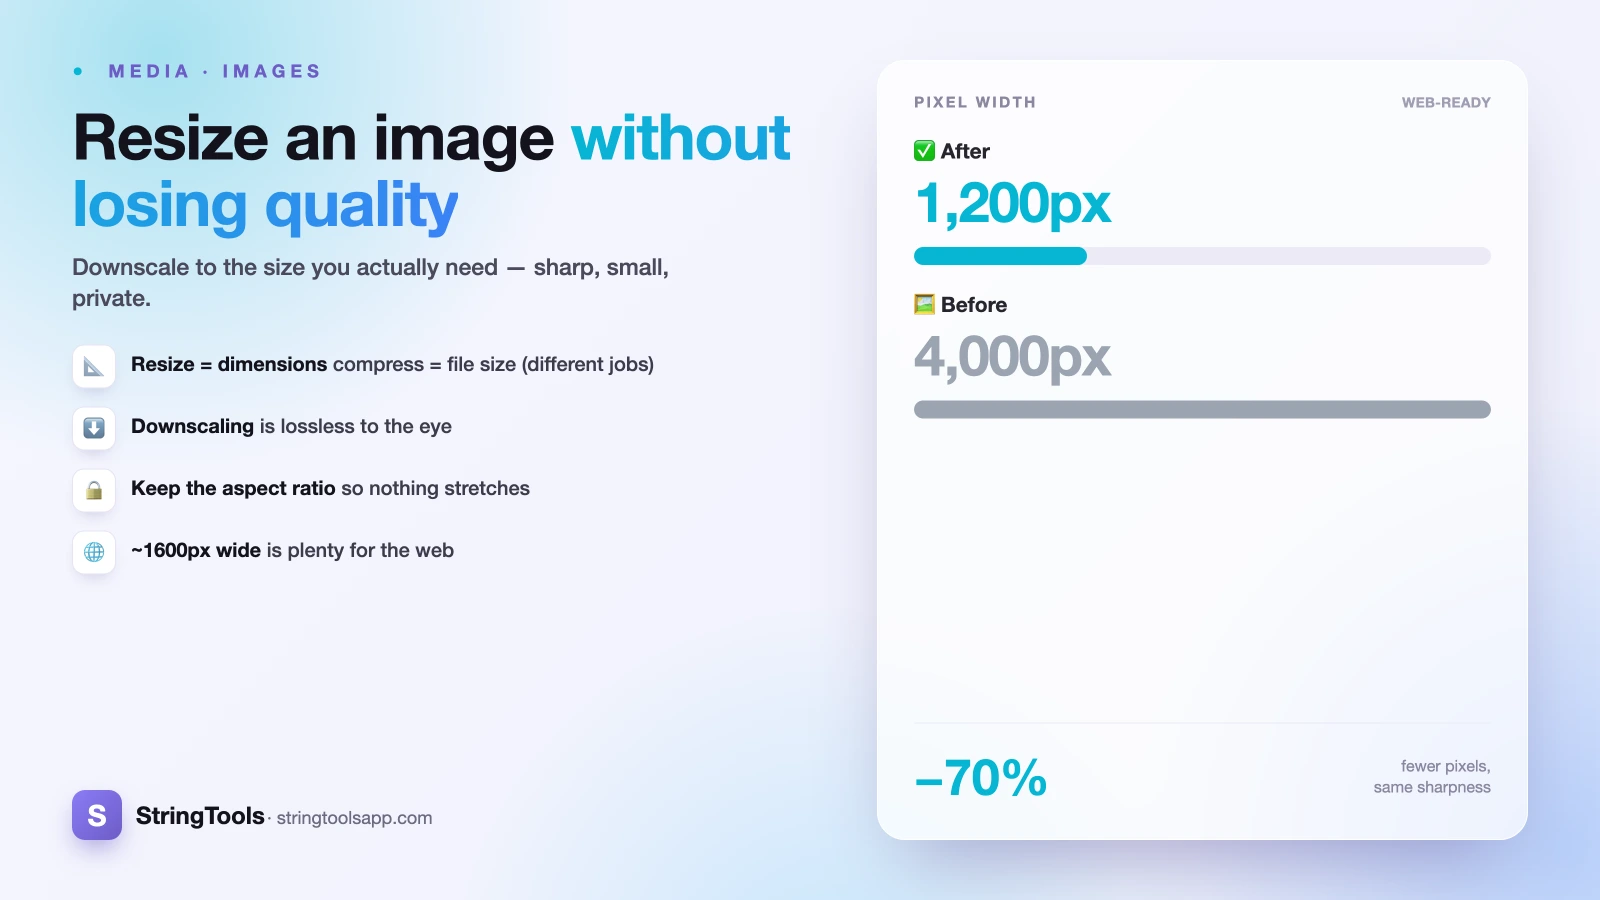
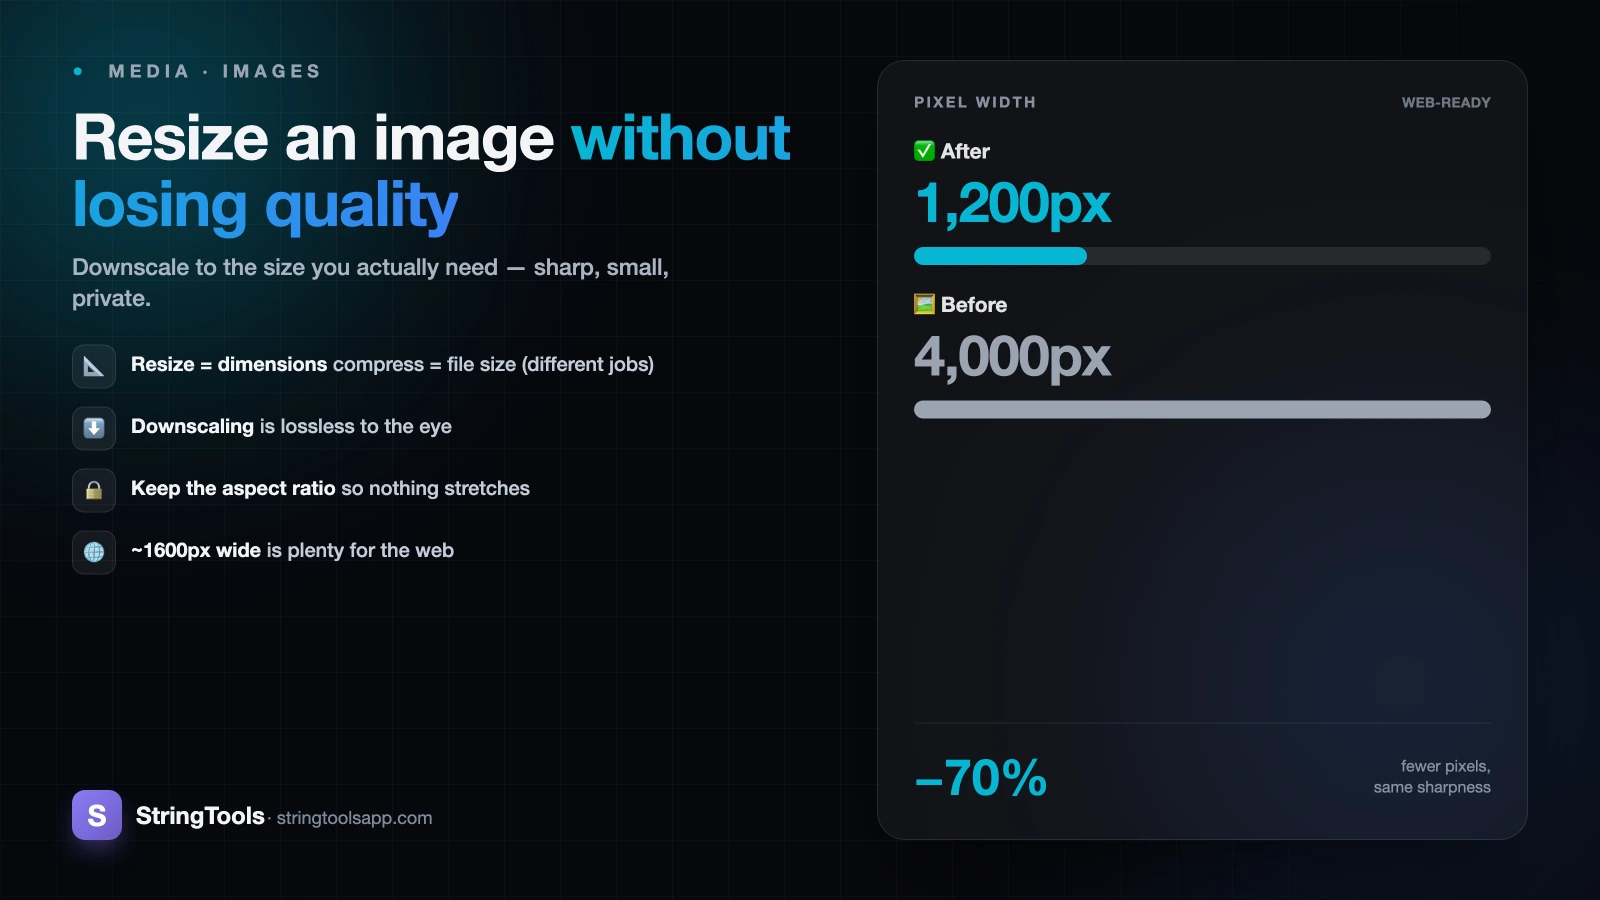
The problem: a 12 MB phone photo that breaks your website
You just took a photo on your phone to use as a header image. It looks perfect on the screen, so you upload it to your blog or online store, and suddenly the page crawls. The image is 4000 pixels wide and 12 MB, and every visitor on a phone connection has to download the whole thing before the page finishes loading.
The fix is to resize it. But most people are nervous about this step, because they've resized an image before and watched it turn into a blurry, blocky mess. The good news: that happens because of how you resize, not resizing itself. Done correctly, shrinking a large photo to the size you actually need is essentially invisible to the human eye.
This guide walks through exactly how to resize an image without losing quality, why downscaling is safe but enlarging is not, and how to pick the right dimensions for wherever the image is going. We'll finish with a real worked example.
Resizing vs. compressing: two different jobs
Before anything else, it helps to separate two operations that people constantly confuse.
Resizing changes an image's pixel dimensions — its width and height. A 4000 x 3000 photo becomes, say, 1200 x 900. You are changing how many pixels the image contains.
Compressing reduces the file size while keeping the same pixel dimensions. A 1200 x 900 JPEG at 4 MB might become the same 1200 x 900 at 400 KB. You are changing how efficiently those pixels are stored.
They solve different problems. Resizing is what you do when an image is physically larger than the space it needs to fill. Compressing is what you do when the dimensions are already right but the file is still heavier than you'd like. In practice you often want both — resize first to the target dimensions, then compress to trim the remaining file size. A good image compressor actually handles both jobs in one place, so you don't need two separate tools.
Keep the distinction in mind, because "my image is too big" can mean two completely different things, and the fix depends on which one you're facing.
Why downscaling is safe but upscaling is not
Here's the single most important fact about image quality, and it's the one that surprises people most.
Downscaling — making an image smaller — is essentially lossless to the eye. When you shrink a 4000-pixel-wide photo to 1200 pixels, the software is discarding pixels it no longer needs. There was always more detail in that photo than a 1200-pixel display could ever show, so throwing some away costs you nothing visible. The result looks crisp because you're keeping the best of what was already there.
Upscaling — enlarging an image beyond its original size — genuinely loses quality. To make a 600-pixel image fill 1200 pixels, the software has to invent pixels that were never captured. It guesses their color by interpolating from neighbors. No matter how clever the algorithm, it cannot recover detail that was never recorded, so enlarged images look soft, mushy, or blocky.
The practical rule: always start from the largest original you have and size down. Never take a small image and stretch it up expecting the detail to appear. If you need a big, sharp image, you need a big, sharp source — resizing can't manufacture one.
Always keep the aspect ratio
Aspect ratio is the proportional relationship between width and height. A 4000 x 3000 photo has a 4:3 ratio. If you resize it to 1200 x 900, you've kept that ratio and the image looks natural.
The moment you break the ratio — say, forcing that 4:3 photo into 1200 x 600 — you stretch or squash it. Faces get wide, circles turn into ovals, and everyone can tell something is off even if they can't name it. This is the most common way people accidentally ruin an image.
The safe habit is simple: change only one dimension and let the other adjust automatically. Set the width you want, and let the height follow the original proportions. Most good tools lock the aspect ratio by default and calculate the matching dimension for you.
If you genuinely need a different shape — a square profile picture from a rectangular photo, for example — don't stretch it. Crop instead. Cropping cuts away the parts you don't want and keeps the remaining pixels at their true proportions, so nothing gets distorted. Stretching distorts; cropping trims. Reach for cropping any time the target shape differs from the source shape.
Pick the right dimensions for the target
"How big should it be?" depends entirely on where the image is going. Sizing to the actual display area is where the real file-size savings come from, and it's the step most people skip. Here are sensible starting points for the most common uses.
Full-width web images (hero banners, backgrounds): around 1600-2000 pixels wide. This covers most laptop and desktop screens without going overboard. Going beyond ~2000px rarely helps, because few visitors have displays that can show the extra detail.
Blog body images (inside an article column): roughly 1000-1200 pixels wide. Article columns are narrower than the full page, so a 1200px image already gives you sharp results, including on high-density "Retina" screens.
Thumbnails and previews: 300-600 pixels. These appear small on the page, so they don't need much resolution.
Profile pictures and avatars: square (1:1), commonly 400 x 400 or 500 x 500. Crop to a square first, then resize.
A useful mental model: figure out the maximum width the image will ever be displayed at, and resize to roughly that — maybe up to double it if you want it to stay sharp on high-density screens. Anything larger is wasted bytes that slow your page down for no visible benefit.
Resampling quality: why bicubic and Lanczos matter
When a tool resizes an image, it has to decide the color of each pixel in the new, smaller grid. The method it uses is called resampling, and the quality varies a lot.
Nearest-neighbor is the fastest and worst. It just picks the closest original pixel, which produces jagged, aliased edges. Avoid it for photos.
Bilinear averages a small neighborhood of pixels. It's a step up but can look soft.
Bicubic and Lanczos are the high-quality methods. They sample a wider area and use smarter math to preserve sharp edges and smooth gradients at the same time. This is what you want for photographs and detailed graphics, and it's a big part of why a properly resized image looks clean rather than mushy.
You usually don't get a dropdown to choose this, and that's fine — the point is to use a tool that defaults to high-quality resampling. Dragging an image corner in a basic app, or letting a webpage shrink an oversized image on the fly, often falls back to lower-quality methods. A dedicated resizing tool applies proper bicubic or Lanczos-style resampling, which is why the same downscale can look noticeably crisper depending on how you do it.
Worked example: 4000px phone photo to a 1200px web image
Let's make it concrete. You have a photo straight from your phone: 4000 x 3000 pixels, 4:3 ratio, about 8 MB. You want to use it as a body image in a blog post, where the column is roughly 700 pixels wide but you want it sharp on high-density screens.
Step 1 — Choose the target width. The column is ~700px, so 1200px keeps it crisp even on Retina displays. We'll resize to 1200px wide.
Step 2 — Keep the ratio. At 4:3, a 1200px width means an 800px height (1200 / 4 x 3 = 900... let's be exact: 1200 x 3/4 = 900). So the target is 1200 x 900. Let the tool calculate the height for you rather than typing it manually.
Step 3 — Downscale with good resampling. You're going from 4000px down to 1200px — a pure downscale, so quality stays visually identical. The file size drops dramatically, often from ~8 MB to a few hundred KB, just from the dimension change.
Step 4 — Compress if needed. If 1200 x 900 still comes out heavier than you'd like, run it through compression to trim further without touching the dimensions. For a strict size ceiling, see compress an image under 100 KB.
Step 5 — Pick the right format. JPEG suits photos, PNG suits graphics with sharp edges or transparency, and WebP or AVIF often beat both. If you're unsure, the trade-offs are laid out in JPEG vs PNG vs WebP vs AVIF. That's it — an 8 MB photo becomes a fast, sharp, web-ready image in under a minute.
Do it privately, right in your browser
There's one more thing worth caring about: privacy. Many free "resize image online" sites work by uploading your photo to their server, processing it there, and sending it back. That means your image — which could be a personal photo, a product shot, a screenshot with private information — leaves your device and sits on someone else's computer.
A client-side tool does all the work inside your own browser using your device's processor. The image never gets uploaded anywhere. Nothing to trust, nothing to leak, and it's usually faster too because there's no round-trip to a server.
Our free image compressor resizes and compresses entirely in your browser — 100% client-side, so your photos never leave your device. Drop in that oversized phone photo, set your target width, keep the aspect ratio locked, and download a clean, web-ready image in seconds. No sign-up, no upload, no watching your quality drain away. Try it the next time an image is slowing your page down.
Frequently Asked Questions
Does resizing an image reduce its quality?
Making an image smaller (downscaling) is essentially lossless to the eye, because you're discarding pixels a smaller display can't show anyway. Enlarging it (upscaling) does reduce quality, because the software has to invent pixels that were never captured. So resize down freely, but avoid resizing up beyond the original size.
What's the difference between resizing and compressing an image?
Resizing changes the pixel dimensions — the width and height, like 4000px down to 1200px. Compressing reduces the file size while keeping the same dimensions, by storing the pixels more efficiently. They're different jobs, and you often use both: resize to the target size first, then compress. Many tools handle both operations together.
How do I resize an image without stretching it?
Keep the aspect ratio locked. Change only one dimension — set the width you want — and let the tool calculate the matching height automatically. If you need a different shape, such as a square profile picture, crop the image instead of stretching it. Cropping trims pixels away; stretching distorts them and makes the image look wrong.
What size should I resize an image to for a website?
It depends on where it appears. Full-width hero images work well around 1600-2000px wide, blog body images around 1000-1200px, and thumbnails around 300-600px. Aim for the maximum width the image will display at, roughly doubled for sharpness on high-density screens. Anything larger just adds file size without any visible benefit.
Is it safe to resize images online?
It depends on the tool. Many online resizers upload your photo to their servers to process it, so your image leaves your device. A client-side tool does everything inside your browser using your own device, so the image is never uploaded. For private photos, screenshots, or product shots, an in-browser tool is the safer and usually faster choice.