
The upload that won't go through
You are filling out a job application, a visa form, or an exam registration. Everything is ready — then the photo upload bounces back: "File must be under 100 KB." The picture straight off your phone is 3 MB, roughly thirty times too big. You crop it, you try again, and it still fails.
This is one of the most common friction points on government portals, university admissions sites, and HR systems worldwide. The frustrating part is that the fix takes about thirty seconds once you understand what actually controls a file's size. Almost nobody needs special software or a paid app.
There are exactly three levers that shrink an image: its pixel dimensions, its compression quality, and its file format. Pull them in the right order and a 3 MB photo drops under 100 KB while still looking perfectly sharp on screen. This guide walks through each lever, why forms cap the size in the first place, and how to hit an exact target by iterating — all without your photo ever leaving your device.
Why forms cap file size at all
The 100 KB (or 50 KB, or 200 KB) limit is not an arbitrary annoyance. Behind most of these forms sits an older database and a queue of millions of applicants. If every candidate uploaded a 3 MB photo, storage and bandwidth costs would balloon, and pages that display those images — an examiner reviewing hall tickets, for instance — would crawl.
Caps also protect the system from abuse and keep processing predictable. A passport-style ID photo genuinely does not need three million pixels; it will be printed small or shown in a tiny box. So the form asks for the smallest file that still does the job.
The key insight: your phone captures far more detail than the form will ever use. A modern camera shoots 4000 pixels wide or more, but an upload box might display the image at 300 pixels. You are being asked to throw away data you were never going to see — which is exactly why the compression is usually invisible.
Lever 1: Cut the pixel dimensions first
This is the biggest win by far, and most people skip it. File size scales with the total number of pixels, which is width multiplied by height. Because it is a product of both, halving each dimension quarters the pixel count — and roughly quarters the size.
A 4000 x 3000 photo holds 12 million pixels. Resize it to 1000 x 750 and you are down to 750,000 pixels — about one-sixteenth of the data — before you have touched quality or format at all. If the form only shows the picture at 300 pixels wide, resizing to 600 or 800 pixels wide loses nothing a human eye will notice on that page.
So the first question is never "how do I compress this?" — it is "what dimensions does this actually need to be?" Check the form's instructions. If it wants 600 x 600 for a profile photo, resize to exactly that. Starting from correct dimensions often gets you most of the way to your target on its own, and it means the later quality reduction has to do far less work.
Lever 2: Lower JPEG quality (60–80 is your friend)
JPEG is a lossy format with a quality dial from 1 to 100. Most phones save at 90–100, which is visually overkill. The sweet spot for uploads is 60 to 80: at that range the compression is essentially invisible on a normal screen, yet the file can shrink by half or more compared to quality 95.
Why is it invisible? JPEG discards detail your eye is least sensitive to — subtle color shifts and fine texture in busy areas. At quality 80 those losses are imperceptible. Push below 50 and you start to see "artifacts": blocky patches, halos around sharp edges, muddy skies. For photos with faces, staying at 60 or above keeps skin looking natural.
Quality is your fine-tuning dial. Dimensions get you into the ballpark; quality lets you land precisely on a KB target. One caveat: JPEG suits photographs, not screenshots or graphics with sharp text and flat color — those belong in PNG or WebP, which the JPEG vs PNG vs WebP vs AVIF guide breaks down.
Lever 3: Switch the format to WebP
If the form accepts it, WebP is a free extra discount. Developed by Google, WebP typically produces files 25 to 35 percent smaller than a JPEG of the same visual quality, thanks to more modern compression. Same picture, same sharpness, noticeably smaller number.
The catch is compatibility. WebP is supported by every current browser and most modern platforms, but some older government portals and legacy HR systems still only accept JPG or PNG. Always read the accepted-formats line before you convert. If WebP is allowed, use it and enjoy the free savings; if the form demands JPG, stick with a well-compressed JPEG — levers one and two will still get you under the cap.
AVIF compresses even harder than WebP, but support is thinner, so it is rarely the right choice for a strict upload form. For everyday web use where you control the page, it can be worth it — again, the format comparison guide covers the trade-offs.
Worked example: 3 MB phone photo to under 100 KB
Say you have a 3 MB portrait straight off your phone, 4000 x 3000 pixels, saved as JPEG at quality 95. The form wants under 100 KB. Here is how the levers stack.
Step 1 — Resize. The form displays the photo around 400 pixels wide, so resize to 800 x 600 (double, for a crisp result). That drops the pixel count from 12 million to 480,000 — about 4 percent of the original. On its own this typically lands the file somewhere around 150–250 KB.
Step 2 — Lower quality. Set JPEG quality to 75. Cutting from 95 to 75 roughly halves the remaining size, bringing you to about 90–120 KB. Close, but maybe not quite there.
Step 3 — Iterate to the exact target. If you are at 110 KB, nudge quality down to 68 and re-check; if you overshot to 70 KB, you have headroom to bump quality back up for a slightly sharper result. Two or three small adjustments land you comfortably under 100 KB. Add the WebP switch if the form allows it and you will likely be under 70 KB with the same visible quality.
The whole loop — resize, set quality, read the resulting KB, adjust — is why a tool that shows you the live file size as you drag the dial is worth far more than one that just spits out a fixed result.
Doing it privately, in your browser
Here is the part most "free image compressor" sites gloss over: many of them upload your photo to their servers to do the work. For a holiday snap, fine. For a passport scan, an ID card, or a document photo tied to your name and address, that is your personal data sitting on someone else's machine.
Modern browsers can resize, re-compress, and convert images entirely on your own device using the built-in canvas and encoding APIs. Nothing is transmitted, nothing is stored on a server, and there is no account to create. The image never leaves your browser tab.
Our image compressor works exactly this way. You drop in a photo, adjust the dimensions and the quality slider, and watch the output size update live until it clears your target — all locally. Because the processing is client-side, it is also fast: no upload wait, no download wait, no queue. It is the same approach behind our PDF size reducer for document uploads.
Try it: get under 100 KB in thirty seconds
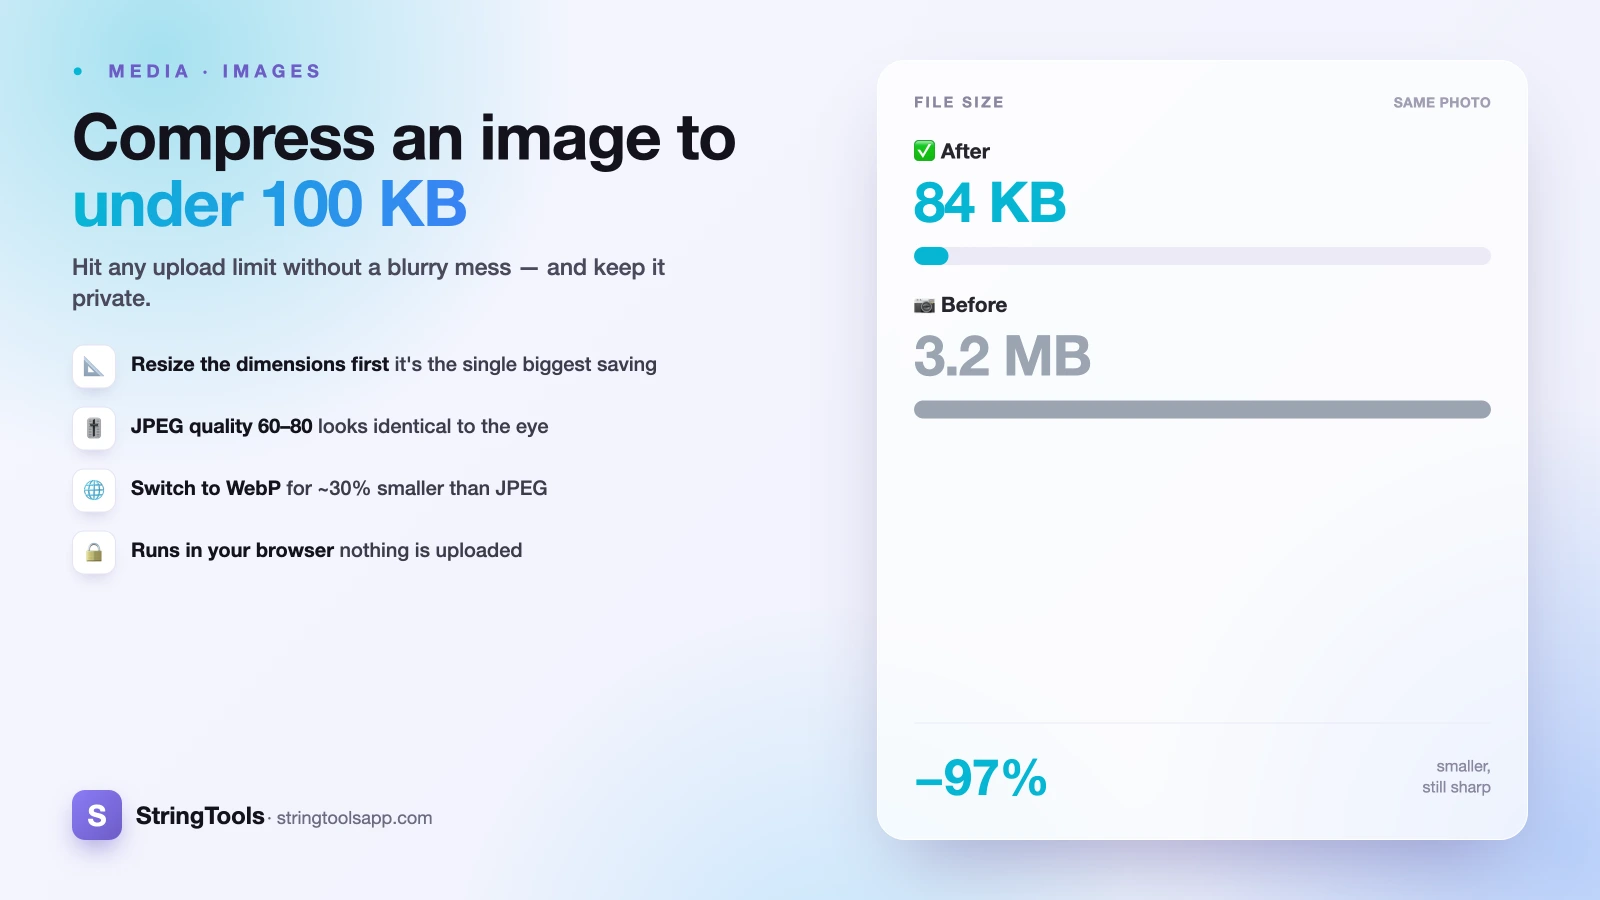
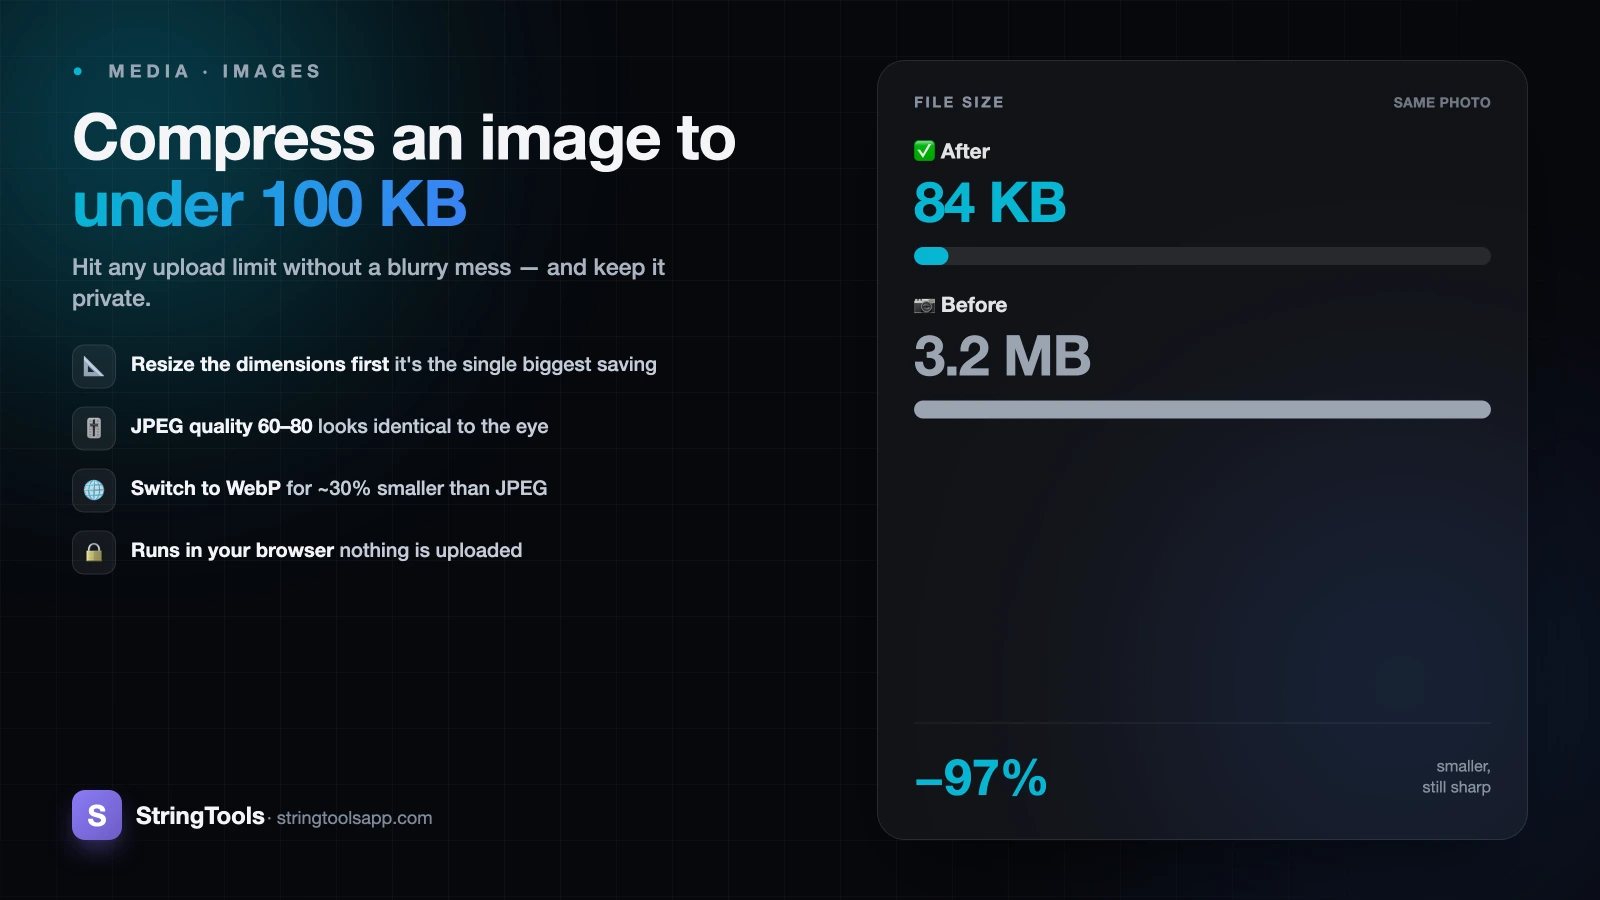
You now have the whole method. Resize to the dimensions the form actually needs — that is the biggest single win. Drop JPEG quality into the 60–80 range where the loss is invisible. If the form accepts WebP, take the extra 25–35 percent for free. Then iterate the quality dial a couple of times to land precisely under your KB limit.
Most photos that seem hopelessly oversized are, in reality, three quick adjustments away from passing. The 3 MB portrait becomes a crisp 80 KB upload, and the form finally accepts it.
Open the image compressor, drop in your photo, and watch the live size readout as you tune it. It runs entirely in your browser, so your image stays private from start to finish — no upload, no account, no trace left behind. When the readout reads under 100 KB, download and submit.
Frequently Asked Questions
What is the fastest way to get an image under 100 KB?
Reduce the pixel dimensions first — it is the biggest single win. Resize a 4000-pixel photo to the size the form actually displays (often 600–800 pixels wide), which can cut the file to a fraction of the original. Then set JPEG quality to around 70 and check the result, nudging the dial until you land under 100 KB.
Will compressing to 100 KB make my photo look blurry?
Not if you do it right. Resizing to sensible dimensions loses no visible quality on the small box where the form shows the image. JPEG quality between 60 and 80 is essentially invisible on screen. Blurriness and blocky artifacts only appear when you push quality below about 50 or shrink dimensions far past what the display needs.
Why do online forms limit uploads to 100 KB or less?
These portals handle millions of applicants and often run on older infrastructure. Capping file size keeps storage and bandwidth costs manageable and keeps pages loading quickly for staff reviewing the images. An ID-style photo is displayed small, so it genuinely does not need the multi-megapixel detail your phone camera captures.
Is it safe to compress a passport or ID photo online?
Only if the tool processes the image in your browser rather than uploading it. Many compressor sites send your file to their servers, which means your personal photo sits on someone else's machine. A client-side tool like our image compressor does everything locally — the image never leaves your device, so there is nothing to intercept or store.
Should I use JPEG or WebP to hit a size limit?
Use WebP if the form accepts it — it is typically 25–35 percent smaller than JPEG at the same visual quality, a free discount. But many government and HR portals still only accept JPG or PNG, so always check the accepted-formats line first. If WebP is not allowed, a well-resized JPEG at quality 70 will still get you under the cap.